Intro to Virtual Machines
Container technologies are used by computer scientists and engineers in research and industry. They allow applications and services to be packaged into isolated, self-contained units that can be deployed on any cloud or local host. This provides a great deal of flexibility and portability for computing tasks.
By using containers, computer scientists can avoid the time-consuming task of setting up and configuring computing environments, since the containerized applications can run on any platform without modifications. This is especially useful when attempting to replicate research results or share data between teams. Furthermore, the use of containers also helps to ensure that all software dependencies are met, making code more reliable and reproducible.
In addition, containers can be used to improve security by isolating applications from each other and the host operating system. This can help prevent malicious software from accessing sensitive data or causing system crashes. Finally, using containers can help reduce hardware costs by allowing multiple applications to run on the same physical hardware.
TLDR: They are like tiny isolated computers running on other computers. They keep things separated when dealing with multiple tools that you do not want to install over and over again or to avoid unwanted interactions.
Virtual Machine
Virtual machines (VMs) are a type of software container that simulates a complete computer system, including the operating system, hardware components, and applications. VMs are designed to be highly flexible and can run a wide range of workloads, from desktop applications to web servers and databases. One key difference between VMs and other container technologies is that VMs require an underlying hypervisor to manage the virtual hardware and allocate system resources. This allows VMs to run multiple operating systems and applications simultaneously on a single physical host.
However, VMs are typically larger in size than other container technologies, as they include a full operating system and all required dependencies. Additionally, modifying the contents of a VM after it has been created can be difficult and time-consuming, as it requires changes to the underlying virtual hardware and operating system configuration.
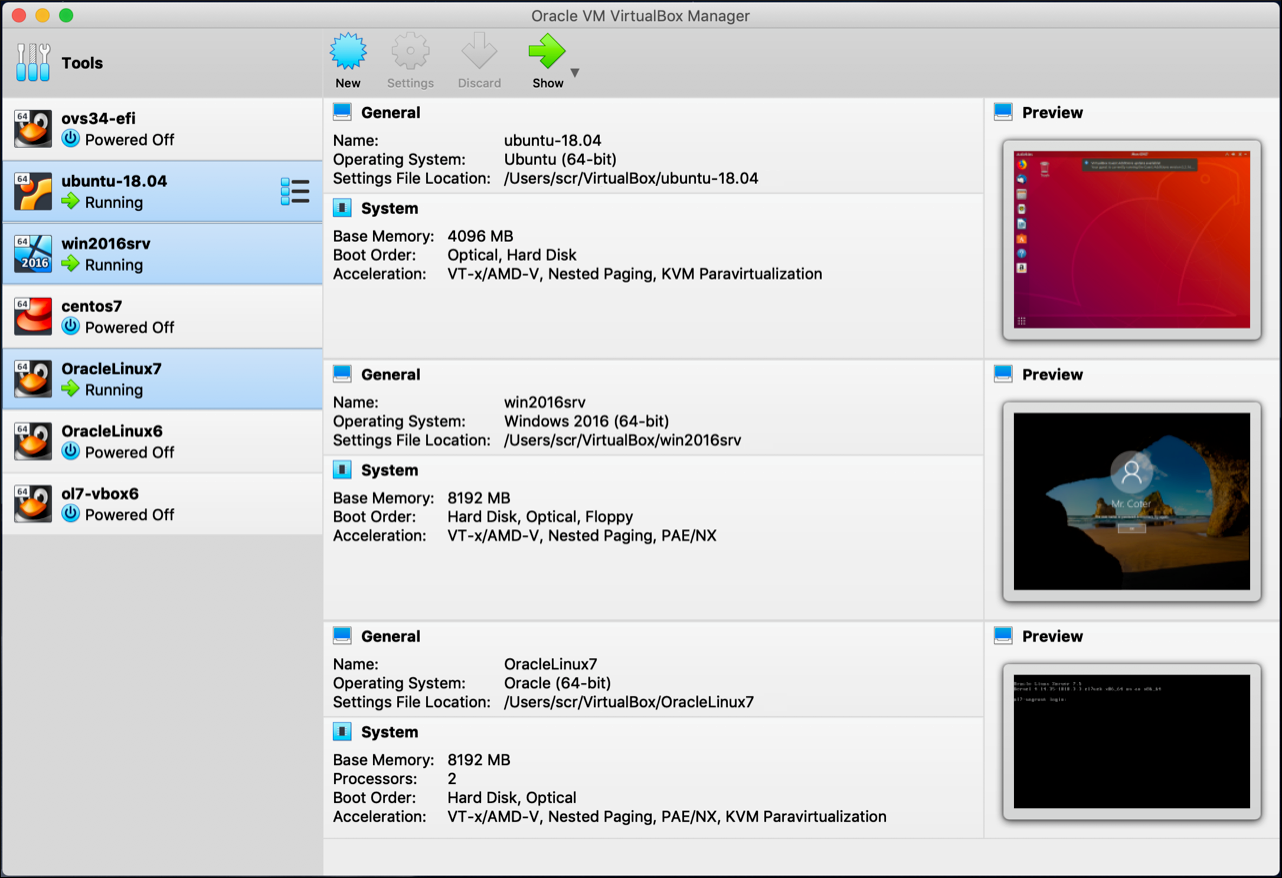
VirtualBox GUI allows you to naviguate multiple virtual machines and modify how much processing power they have, if you allow copy-paste between your machine and the virtual one, removable disks access, etc.
Installations
We only use a software for Virtual Machine to emulate a Windows environment if you need to run something that does not exist on Linux. We recommand this tutorial for VirtualBox (option 1) and this tutorial for VMWare.
Once installed, you should use a pre-made Windows11 image (pick the right image for the software you choose). You will then need to image into the software using the GUI, boot, sometime pick a password, and ‘enjoy’ Windows.
Make sure to allocate enough resources (CPU, RAM) if needed, make sure you have plenty of disk space (50GB - 75GB). Do not install on an external hard drive (or be sure to use a USB3.0, otherwise too slow for the OS emulation).
Singularity
Singularity (or now Apptainer) containers are designed to be more secure and flexible for high-performance computing and scientific computing workloads. One key difference is that Singularity containers can run without elevated privileges or root access, making them more suitable for multi-user and shared environment
Since they contain the Operating System (OS), all dependencies, libraries and software, data, etc., they can be large files (Gigabytes). Once a Singularity is created, it is fixed in time. You cannot modify what is inside, re-install a toolbox or add new files. This means that you need to know where you got it from, when you downloaded it and make sure to keep an meaningful filename to know which containers you have.
singularity exec to run a command inside a container. This allows you to run a single (or a few) command as if you had everything installed, it allows you to launch command anywhere without having to install everything first. It is useful when a software is hard (or impossible) to install on a cluster or a specific OS, but you need that software for processing.
singularity shell to open a shell inside the container for interactive use. If you do not know exactly what command to run, you can spawn a terminal and try a few commands, run something and explore. This act as a normal bash terminal as if you had everything install.
singularity build to create a new container from a recipe file. If you have a recipe file defining how to install everything (LINK). You can create your Singularity from it, it is useful when doing small modifications to the original Singularity. It is also easier to share this recipe on Github or with collaborators than sharing a 10GB Singularity file.
Installations
Do not try to install on MacOS
The easiest way to install a container it’s by Apptainer (here).
Otherwise, the documentation to install Singularity is easy enough to follow (here). However, for Singularity, make sure you follow these subsections:
Install Dependencies (
sudo apt installfor Ubuntu)Install Go (change
export VERSION=1.11toexport VERSION=1.13)Download and install Singularity from a release (change
export VERSION=3.0.3toexport VERSION=3.7.4)Compile Singularity
Source bash completion file
Finally, you should be able to launch singularity --version to verify if it is installed correctly.
Docker
Unlike Singularity, Docker (engine) must be running in the background and requires root privileges, which may pose a security risk. This mean that instead of launching a process using singularity and then finishing it, Docker continuously run and when launching a command you instantiate a container using the already running engine.
This means there is a complexity to the installation, and that Docker is generally considered to be more resource intensive than Singularity. Using several Docker containers can lead to significant use of disk space to be used for storage, so be sure to verify what is used or not and to delete unused.
docker run: This command is used to create and start a new Docker container from a specified image. It can be used to set container options such as port mapping, environment variables, and container name.
docker ps: This command lists all currently running Docker containers, along with useful information such as the container ID, name, status, and associated image.
docker build: This command is used to build a Docker image from a specified Dockerfile. The Dockerfile is a script that defines the steps required to create the image, such as installing dependencies and setting environment variables.
docker stop: This command is used to stop a running container. It takes the container ID or name as an argument, and can be used to gracefully shut down the container.
Installations
It seems like Docker running Linux do not work well on MacOS with M1/M2 CPU
It is always important to verify if a software is already installed before installing it, but it is really important with Docker.
The documentation to install Docker is easy enough to follow (here).
- However, make sure you follow these subsections:
Uninstall old versions (sometimes this is necessary, answer #1)
Install using the apt repository
Set up the repository
Install Docker Engine
Once installed, you will have to add yourself to the group of users that can run Docker with sudo privileges and restart Docker.
sudo groupadd docker
sudo gpasswd -a ${USER} docker
sudo service docker restart
Launch docker --version to verify if it is installed correctly. Since Docker is complex, running sudo docker run hello-world is a good idea to actually test if it works.