Intro to Python
Python Language
Python is a powerful programming language used for many different purposes. It was created in the late 1980s and has grown in popularity due to its easy-to-use syntax, wide range of applications and range of libraries. Python is particularly useful for research in general due to its ability to quickly and easily process large datasets, its support for visualization and its ability to easily integrate with other languages. Python’s object-oriented structure makes it easy to use for complex and interactive data analysis, while its flexibility allows researchers to quickly develop and adapt new tools. Additionally, the availability of numerous open source libraries and frameworks makes it easy to access and use in research projects. Python is also popular for its simple syntax and the many libraries and frameworks available, making it an ideal choice for research.
This introduction is from Pr. Francois Rheault’s class [link]. It contains an overview of basic concepts in Python, a few good practices (and anti-pattern) and an intro to numpy (notebook 1-2-3), an intro to image processing (4-5-6), a few examples of medical image processing (a-b-c-d-e), a simplistic script (print_fibonacci.py, using sys.argv), an advanced script (remove_background.py, using argparser) and an example of class/object (class_and_objects.py).
This repository uses Jupyter-Notebook, and a few libraries (scipy, numpy, imageio, matplotlib, etc.). So it is a good test to check if your setup is complete (Git is installed, Python is working, virtual environments are setup, libraries are installed, etc.)
Interactive Mode
In interactive mode, the user interacts with the Python interpreter directly, typing in code and seeing the results immediately. This method is useful for quick testing or exploring new concepts, as it allows for rapid prototyping and experimentation. However, it can be challenging to keep track of previous code and results, and it is not ideal for larger projects or for writing reusable code.
Interactive mode is a great way to quickly execute small snippets of code and test out ideas.
To launch interactive mode, simply type python or ipython (if isntall) in your terminal/command line. This will launch the Python interpreter and you will be able to type and execute Python code in the interactive shell.
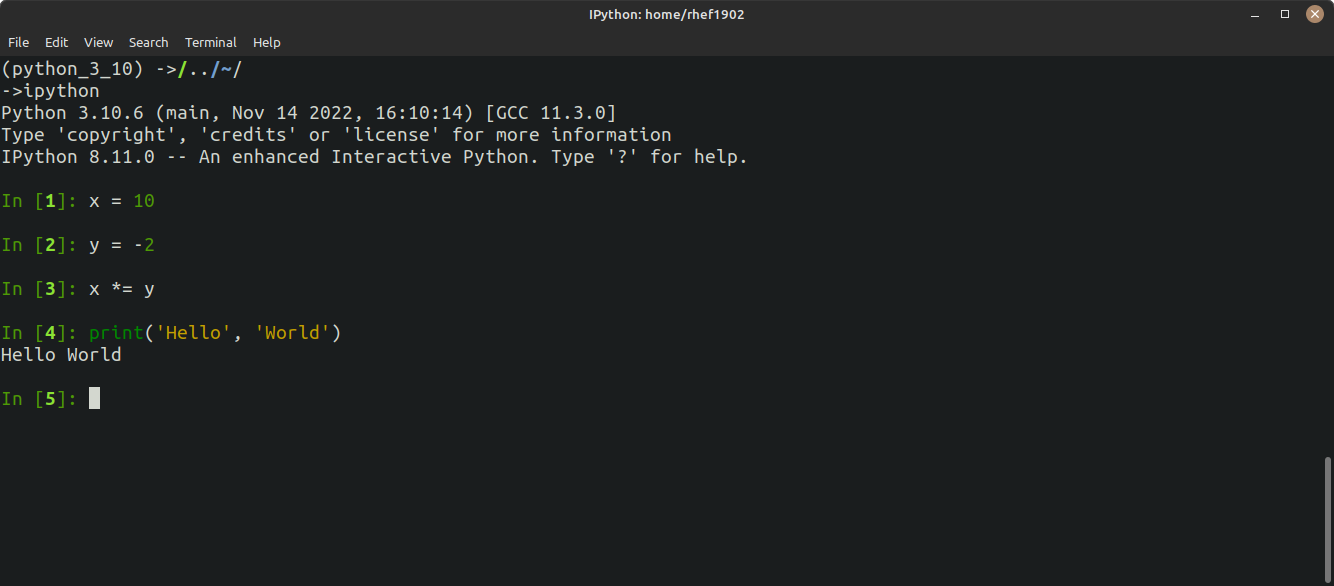
A python shell let you do everything you want in Python. Using variables, functions, if/else, for loops. The problem is that you are typing it from scratch every time it starts. Great to use a quick calculator or a sanity check on basic data type or import.
Jupyter Notebooks
Jupyter Notebook is a web-based interactive computing environment that allows users to create and share documents containing live code, equations, visualizations, and narrative text. Jupyter Notebook is a popular choice for data analysis and scientific computing because it allows for the creation of reproducible research documents that combine code, results, and explanations. Additionally, it provides an interactive interface for coding and visualization, making it a useful tool for exploring and presenting data.
However, it is poorly adapted for processing, large analysis projects or collaborative work.
To launch a Jupyter Notebook, simply type jupyter-notebook (if installed) in your terminal/command line. This will open a web browser window with the Jupyter Notebook interface.
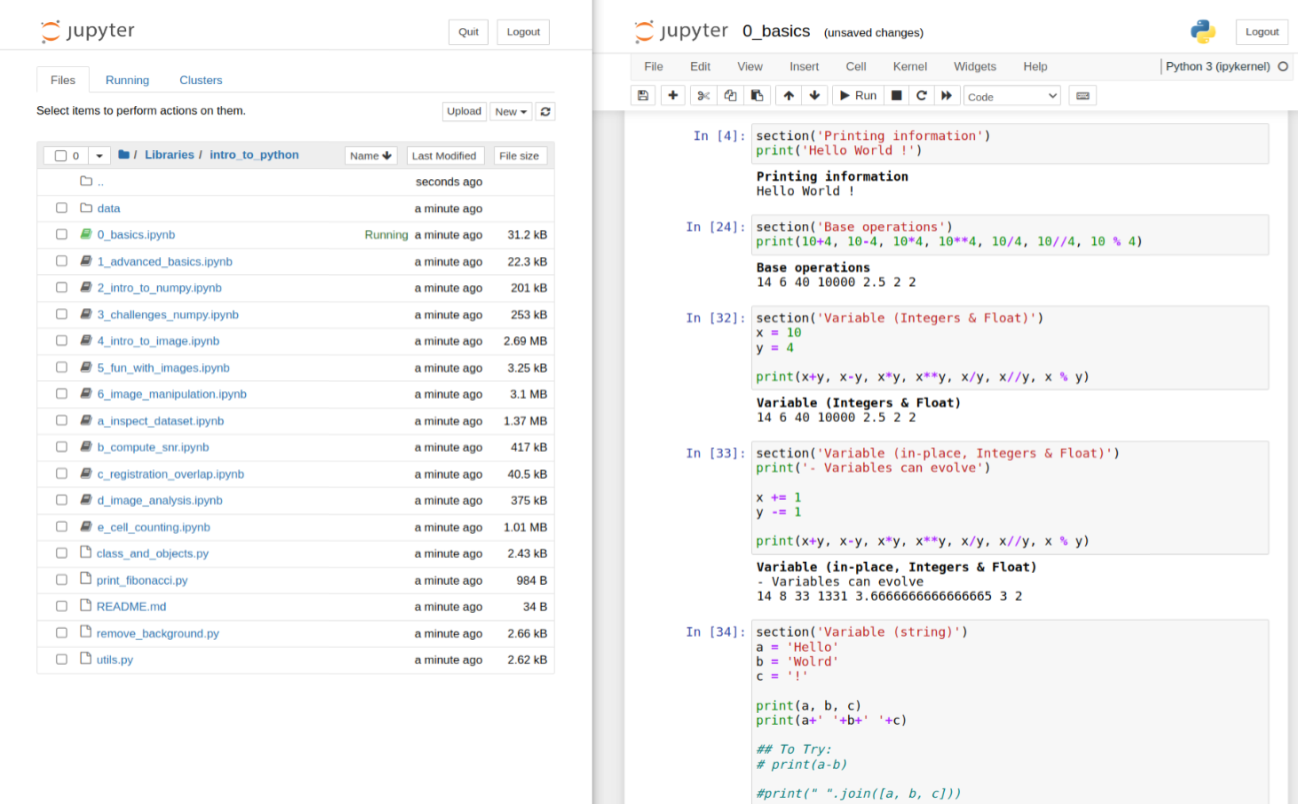
Jupyter-Notebooks allow to run code in cells one after the other and quickly iterate over a few pieces of code. Be careful, restart the kernel often when executing cells in disorder.
Integrated Development Environment (IDE)
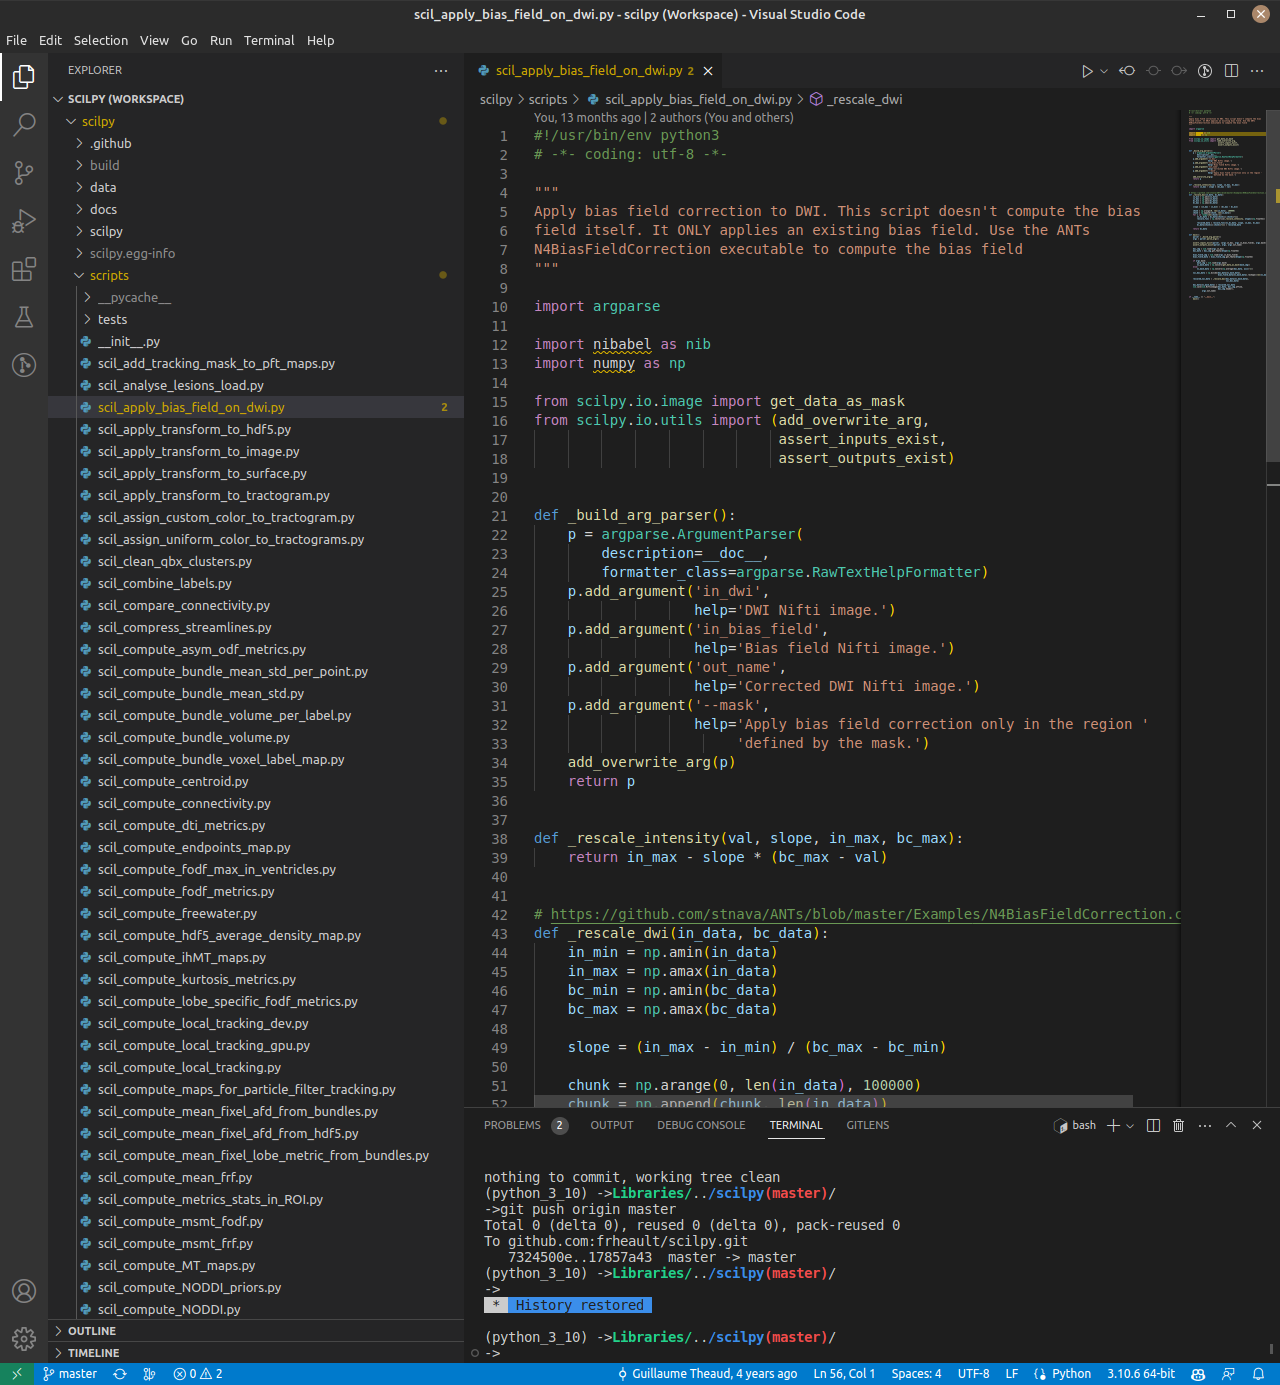
An IDE is an application made for software development, including code editing, debugging, and testing. Known IDEs are VSCode, Pycharm, and some are more simple like Atom. IDEs are designed to help developers write and maintain code efficiently, with features such as syntax highlighting, auto-completion, and code refactoring. IDEs are well suited for larger projects, as they offer features such as version control, project management, and team collaboration. However, they can be more complex to set up and use than other methods, and may require more resources to run effectively.
Scripts can also be written in a simple text editor, but no matter how they were written they can be executed in the command line. To launch a Python script, simply type python script_name.py in your terminal/command line. This will execute the script and display the results in the terminal/command line.
IDEs sometimes come with their own virtual environments, terminal and file explorer to facilitate interactions with your code. Make sure you understand which version of Python you are running and which terminal, where are installed your libraries, and how your code run inside vs outside of the IDE.
When working with scripts and libraries, you should use a proper IDE as well as code versioning (Git). Each IDE is slightly different and you should follow online tutorial on the one you want to pick.
Understanding Errors
Understanding a traceback in Python is crucial for effective debugging of code. When an error occurs, Python generates a traceback, which is a detailed report of the sequence of function calls that led up to the error. By analyzing the traceback, you can identify the specific line of code that caused the error and the functions that were called leading up to it. This information can help you quickly locate and fix errors in your code. Additionally, the error message that accompanies the traceback provides valuable information about the type of error that occurred, which can guide you in selecting the appropriate debugging strategy. Overall, mastering traceback analysis and error message interpretation are essential skills for any Python programmer.
Installing Python
To install Python on a clean Ubuntu system, follow these steps:
Open a terminal window and update the package list by running the following command:
sudo apt update
Install Python by running the following command:
sudo apt install python3
This will install Python 3, which is the recommended version for most purposes.
Verify that Python has been installed correctly by running the following command:
python3 --version
This should display the version number of Python that was installed. That’s it! You have successfully installed Python on your Ubuntu system.
Sadly, a decent setup is a lot more complex than this. To have a more complete tutorial on installing Python with Virtual Environment: [TODO]
(It should have been already installed anyway)
Virtual Environment
Python Virtual Environment (also known as venv) is an essential tool for research in any field. It is a special type of environment that allows you to create, manage, and work with different versions of Python and its associated packages and libraries. It provides a safe and isolated environment for research and development, allowing the user to install and test Python packages without affecting the system’s global environment. Additionally, it enables users to install different versions of the same package, which is especially important for research projects that require specific versions of software. It also helps to keep track of the required dependencies for each project, without having to worry about conflicts or version incompatibilities. Finally, it helps to keep the research environment clean and organized, making it easier to replicate the same results.
There is many ways to handle virtual environments, but here are the two most common options in Python: built-in virtualenv and Anaconda.
VirtualEnvs
virtualenv is a built-in module in Python that allows you to create isolated environments for Python projects. It is a lightweight and easy-to-use tool for managing dependencies and project configurations. It is also compatible with most Python versions and can be used with any Python package manager. However, virtualenv requires some command-line knowledge to use, and it does not include any pre-installed packages or tools.
Anaconda
Anaconda is a popular data science platform that includes a package manager and a suite of tools for scientific computing. It includes its own virtual environment manager called conda, which allows you to create and manage virtual environments with pre-installed packages and tools. Anaconda is designed to simplify the installation and management of data science packages and provides a graphical user interface for managing virtual environments. However, Anaconda is a larger and more complex tool than virtualenv, and it may require more system resources to run effectively.
In summary, virtualenv is a lightweight and flexible virtual environment option that requires some command-line knowledge, while Anaconda is a larger and more feature-rich platform that includes a graphical user interface and pre-installed packages and tools for data science. The choice between the two will depend on the specific needs and preferences of the user.